
Step-by-Step Guide to Building Your Own Gaming PC in 2025
Introduction
In 2025, PC gaming is more popular than ever. With the rise of ultra-realistic games, esports, streaming, and even AI-driven simulations, having a powerful gaming computer has become a dream for many enthusiasts. But while buying a pre-built system is convenient, Building Your Own Gaming PC is still the best option for those who want full control over performance, customization, and budget.
Not only does it give you a machine tailored to your exact needs, but it’s also one of the most satisfying tech projects you can do. Plus, in 2025, with easier compatibility, modular parts, and AI-assisted configuration tools, building a gaming rig is simpler than ever before.
This step-by-step guide to Building Your Own Gaming PC will walk you through everything you need to know—from choosing components to assembling, installing software, and optimizing performance.
Top 10 Gadgets of 2025 You Need to Know About
Why Build Your Own Gaming PC in 2025?
Before diving into the steps, let’s answer the big question: why build instead of buying?
- Cost-Effective – You get better performance per dollar compared to many pre-built PCs.
- Customization – Select every part to fit your gaming style, whether it’s FPS, MMO, or content creation.
- Upgradability – Swap out components as technology advances.
- Learning Experience – Understand how your machine works and troubleshoot issues more effectively.
- Performance Edge – Tweak and optimize your build for maximum frame rates and smooth gameplay.
Simply put, Building Your Own Gaming PC in 2025 gives you freedom, performance, and future-proofing.
Step 1: Planning Your Gaming PC Build
The first step in Building Your Own Gaming PC is planning. You need to ask yourself:
- What games will I be playing? (AAA titles, esports, VR?)
- Do I need it for streaming, video editing, or just gaming?
- What’s my budget? (Entry-level: $800–$1000, Mid-range: $1200–$1800, High-end: $2000+)
Once you define your needs, you can choose the right components without overspending.
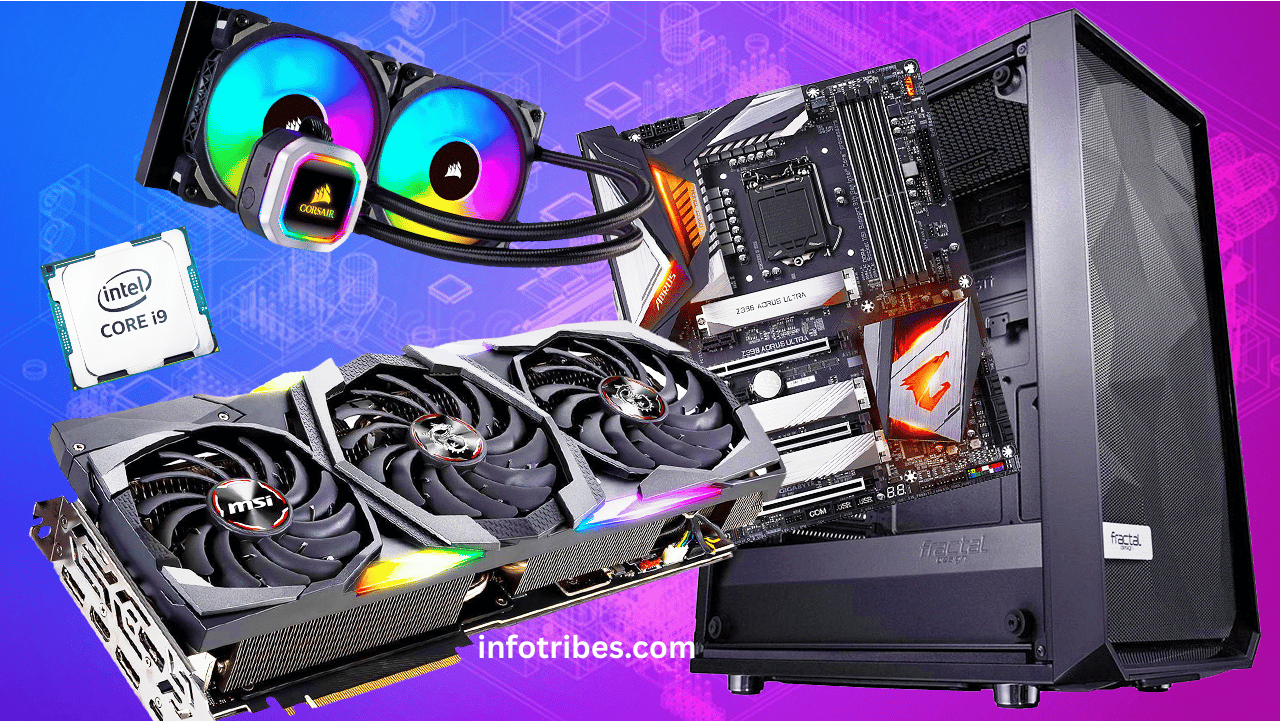
Step 2: Choosing the Right Components
1. Central Processing Unit (CPU)
The CPU is the brain of your PC. In 2025, Intel’s 15th Gen Arrow Lake processors and AMD Ryzen 9000 series dominate the market. For gaming, a 6-core or 8-core CPU is ideal.
- Budget: Ryzen 7 9700X or Intel i5-15600K
- High-End: Ryzen 9 9950X or Intel i9-15900K
2. Graphics Processing Unit (GPU)
The GPU is the heart of gaming. It determines how well your system handles graphics-heavy titles.
- Entry-level: NVIDIA RTX 5060, AMD Radeon RX 8700
- High-End: NVIDIA RTX 5090 Ti (AI-enhanced ray tracing), AMD Radeon RX 9900 XT
3. Motherboard
Choose a motherboard compatible with your CPU socket. Look for features like Wi-Fi 7, PCIe 5.0 slots, and DDR5 RAM support.
4. RAM (Memory)
In 2025, DDR5 RAM is standard. For gaming:
- Minimum: 16GB DDR5 @ 6000MHz
- Recommended: 32GB DDR5 @ 7200MHz
5. Storage (SSD/HDD)
Games are larger than ever. NVMe Gen 5 SSDs provide lightning-fast load times.
- 1TB NVMe SSD (Primary)
- 2TB HDD/SSD (Secondary for bulk storage)
6. Power Supply Unit (PSU)
Ensure you have a high-quality PSU with 80+ Gold or Platinum certification. Wattage should be 650W–1000W depending on your GPU.
7. Cooling System
In 2025, AI-powered liquid coolers and silent fans keep systems efficient.
- Budget: Air cooling (Noctua NH-D15 successor)
- Premium: 360mm AIO liquid cooler with ARGB
8. Case
Pick a case with good airflow, cable management, and enough room for upgrades. Popular brands include NZXT, Lian Li, and Corsair.
Step 3: Tools You’ll Need
You don’t need a workshop—just a few basic tools:
- Phillips-head screwdriver
- Anti-static wristband
- Cable ties or Velcro straps
- Thermal paste (if CPU cooler doesn’t include pre-applied paste)
Step 4: Assembling the Gaming PC
1. Prepare Your Workspace
Clear a table, use anti-static precautions, and lay out your parts.
2. Install the CPU
- Open the motherboard CPU socket.
- Place the CPU carefully (match the golden triangle corner).
- Lock the CPU in place.
3. Install RAM
- Insert RAM sticks into the DIMM slots until they click.
- For dual-channel, use slots 2 and 4 (check manual).
4. Install NVMe SSD
- Locate the M.2 slot on the motherboard.
- Insert SSD at an angle, press down, and secure with screw.
5. Install CPU Cooler
- Apply thermal paste (pea-sized drop).
- Mount cooler and connect fan headers.
6. Place Motherboard in Case
- Install I/O shield first.
- Align motherboard with standoffs.
- Screw it in carefully.
7. Install GPU
- Locate PCIe x16 slot.
- Insert GPU until it clicks.
- Secure with screws and connect power cables.
8. Install Power Supply (PSU)
- Mount PSU in the case.
- Route cables behind the motherboard tray for clean cable management.
9. Connect Cables
- 24-pin ATX cable to motherboard
- 8-pin CPU cable to top of motherboard
- GPU power cables
- SATA/Front panel connectors
10. Final Checks
- Ensure all components are seated properly.
- Verify cables are connected.
- Power on the system and enter BIOS.
Step 5: BIOS Setup and Software Installation
1. Enter BIOS
Press Del or F2 at startup. Update BIOS to the latest version.
2. Install Operating System
- Use a USB drive with Windows 12 or Linux.
- Select SSD as installation drive.
3. Install Drivers
Download latest drivers from NVIDIA/AMD, motherboard site, and peripherals.
4. Optimize Settings
- Enable XMP/EXPO for RAM speed.
- Set fan curves for cooling.
- Adjust power settings for performance.
Step 6: Testing and Benchmarking
Once your system is up:
- Run 3DMark or Cinebench to test performance.
- Monitor temperatures with tools like HWMonitor.
- Play a demanding game to check stability.
Step 7: Customization and Aesthetics
Part of the fun in Building Your Own Gaming PC is making it look unique.
- Add RGB lighting.
- Use custom cables.
- Install a glass side panel for a clean display.
Step 8: Maintenance Tips
- Clean dust filters regularly.
- Update drivers and BIOS periodically.
- Monitor temps during gaming.
- Upgrade when necessary (GPU every 3–4 years, RAM/SSD as needed).
Conclusion
In 2025, Building Your Own Gaming PC is easier, more rewarding, and more customizable than ever before. With powerful CPUs, next-gen GPUs, blazing-fast SSDs, and sleek cases, you can create a machine that outperforms most pre-built systems at a fraction of the cost.
By following this step-by-step guide, you not only save money but also gain knowledge, skills, and the satisfaction of gaming on a PC you built with your own hands.
FAQs on Building Your Own Gaming PC
Q1: Is it cheaper to build your own gaming PC in 2025?
A: Yes, building often saves money compared to pre-built systems, especially if you already own parts like storage or a case.
Q2: How long does it take to build a gaming PC?
A: On average, 2–4 hours for beginners, less than 2 hours for experienced builders.
Q3: Do I need technical skills to build a PC?
A: No advanced skills are required—just patience, basic tools, and following guides like this one.
Q4: What’s the hardest part of Building Your Own Gaming PC?
A: Proper cable management and ensuring compatibility between parts are usually the biggest challenges.
Q5: Should I wait for new hardware releases in 2025?
A: If a new GPU or CPU is about to release, it may be worth waiting. Otherwise, build when you’re ready—the tech cycle never stops.
Q6: Can I upgrade later after building my PC?
A: Absolutely. That’s one of the biggest advantages of building your own system—you can replace or upgrade parts anytime.